
14 KiB
14 KiB
The Odin Project
How to ask good programming questions
- Be very specific and patient
- use screenshots when available
- ask questions directly instead of asking to ask ie. "are there any java experts around?"
Git
Set up Git
- Set username and email
git config --global user.name "username"
git config --global user.email "email"
- If using GitHub, change branch from 'master' to 'main'
git config --global init.defaultBranch main
- Enable colorful output with git
git config --global color.ui auto
- Set default branch reconciliation behavior to merging
git config --global pull.rebase false
- Verify the config
git config --get user.name
git config --get user.email
Create an SSH Key for repos
- SSH keys are good for avoiding retyping credentials every time
- Check to see if there is an existing ssh key
ls ~/.ssh/id_ed25519.pub
- if nothing appears, then there is no key and one needs to be made
- Create ssh key
ssh-keygen -t ed25519 -C <youremail>
- press enter when asked for what location to store it unless you have a specific location
- add a passphrase and retype it
Link SSH key to Git
- Find the ssh key input on GitHub or repository website of your choice
- Click on new ssh key and give it a name and leave the window open for the next steps
- Copy the public SSH key
cat ~/.ssh/id_ed25519.pub
- Paste the key into your settings, it should start with
ssh-ed25519and end with your email
Change git repository remote
git remote set-url origin https://'username':'password'@repositorylink
Using Git
- Check git version by using
git --version - After creating a new repository you can clone it to your current directory by using
git clone <repolink> - After the cloning, check the url with
git remote -v - Use
git statusto check the status of the current files within your directory - To commit to the repo you can use
git commit -m "Add helloworld.txt" - Confirm with
git status - You can use
git logto view the most recent commits - After creating a file you can use
git add <filename>to add that specific file orgit add .to add all files within the directory that are not on the repo - We can push the changes to the cloud repository with
git push origin main, origin being the remote location and main being the branch to upload to- Make sure to only push working code
Git Best Practices
- Atomic commits
- A commit that includes changes related to only one feature or task of your program.
- Easily reversible if the commit causes breaking changes
- Enables you to write more specific commit messages
- A commit that includes changes related to only one feature or task of your program.
Changing the Git Commit Message Editor
- Typing
git config --global core.editor "code --wait"into the terminal will give you the option to use eithergit commit -m <your message here>orgit commitwithout anything extra.
When to Commit
- These are best made when you think is a good time to take a snapshot of your current project
- Never commit code that isn't working to the main branch if it was working before
- It is considered best practice to commit every time you have a meaningful change in the code
- Creates a trail to show how you got to the current iteration of the code
- Useful for when looking back to when the project feature was working to compare what you've changed
HTML And CSS Introduction
- What is HTML?
- Stands for Hypertext Markup Language
- It's the raw data that a webpage is built out of. Includes:
- text
- links
- cards
- lists
- buttons
- What is CSS?
- Stands for Cascading Style Sheets
- It's the styling of the HTML page
- Controls colors
- Controls Positioning of text and font
- HTML and CSS are not programming languages, technically speaking because they only present information and are not used to compute any logic
- JavaScript would be a programming language that leverages both HTML and CSS
Elements and Tags
- HTML defines the structure and content of webpages.
- HTML elements are used to create:
- paragraphs
- headings
- lists
- images
- links
- Elements are simply pieces of content wrapped in opening and closing tags
- Another way to define them is containers for content
- Paragraph is
<p> </p> - Some tags do not require a closing tag
- line break is
<br>or<br /> - image insert would be
<img />or<img>
- There many tags, looking at documentation for most of them is standard HTML Elements
- Intro to HTML Video 3:42
HTML Boilerplate
- All HTML docs have the same basic structure that needs to be in place before anything useful can be done.
The DOCTYPE
- Every HTML page starts with a doctype declaration
- The purpose of it is to tell the browser what version of HTML it should use to render the document(current being HTML5)
- HTML5 Doctype is
<!DOCTYPE html>
- HTML5 Doctype is
- The doctypes for older version of HTML were more complicated
- Example of doctype for HTML4
<!DOCTYPE HTML PUBLIC "-//W3C//DTD HTML 4.01 Transitional//EN" "http://www.w3.org/TR/html4/loose.dtd">
HTML Element
- Now we need to provide an
<html>element. More commonly known as the root element of the document- root means that every other element in the document will be a descendant of that one
- The
langattribute specifies the language of the text content in that element- primarily used for improving accessibility of the webpage
enis used for English
- The
<head>element is where important meta-information about our webpages and items required for our webpages to render correctly in the browser- inside of the
<head>element, there should not be any element that displays content on the webpage
- inside of the
The Charset Meta Element
- The meta tag for the charset encoding of the webpage in the head element:
<meta charset="utf-8"> - The encoding ensures that the webpage will display special symbols and characters from different languages correctly in the browser
Title Element
- Should go in the head of an HTML doc
<title>My First Webpage</title> - It's used to give webpages a human-readable title which is displayed in our webpages' browser tab
- The default title for a webpage is it's filename, in this case
index.html- This is a security risk as you wouldn't want the internet to know what any of your files are named or how they are placed within the project directory
- Also would make it difficult for the end user to remember what tab it is if they have multiple open
<!DOCTYPE>
<html lang="en">
    <head>
        <meta charset="UTF-8">
        <title>My First Webpage</title>
    </head>
</html>
Body Element
- All content will be displayed to users inside of this tag
<!DOCTYPE>
<html lang="en">
    <head>
        <meta charset="UTF-8">
        <title>My First Webpage</title>
    </head>

    <body>
    </body>
</html>
Viewing HTML Files in the Browser
- You can drag and drop an HTML file into the browser and it will open up the page
- You can also use a preview extension that will open a browser window
- In Ubuntu you can use the command
google-chrome index.htmlto open it as well - Using
<h1>for the heading can render out a title on the page
<!DOCTYPE>
<html lang="en">
    <head>
        <meta charset="UTF-8">
        <title>My First Webpage</title>
    </head>

    <body>
        <h1>Hello World!</h1>
    </body>
</html>
- VSCode can generate the entire boilerplate by entering
!into a blank.htmldocument
Working With Text
Paragraphs
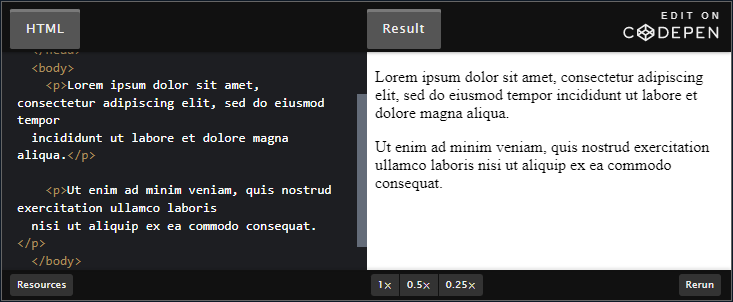
- If text is not preceded by a
<p>, then it will all clump together as one large body of text 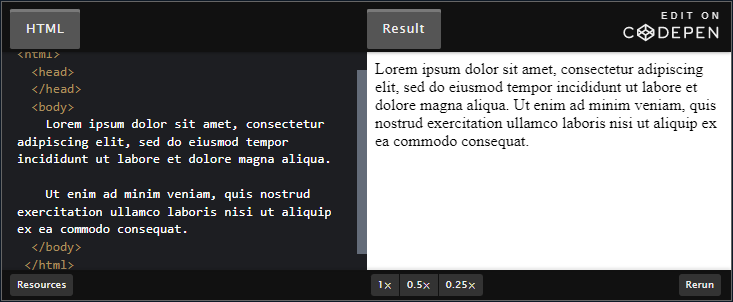
Headings
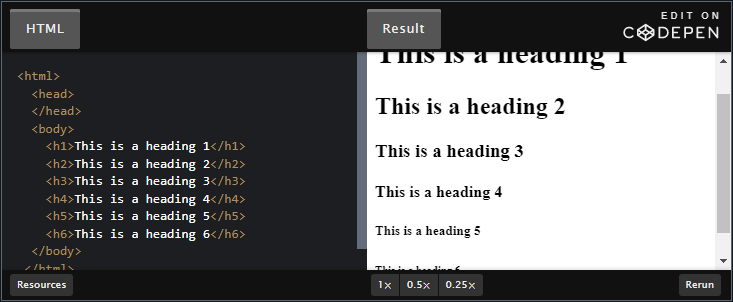
- These use the
<hx>tag wherexis the number that changes the font<h6>is the smallest font
Strong Element
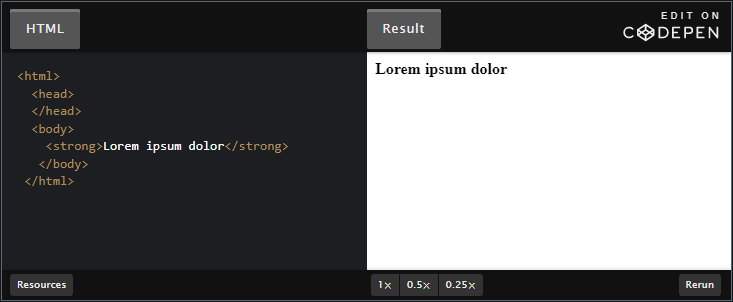
- The
<strong>tag makes text bold - It also marks text as important semantically
- This affects tools like screen readers for visual impairments
- It will change the tone of the voice for the content within the
<strong>tag
<strong>Showing bolded wording</strong>
Em Element
- The
<em>tag makes text italic and also emphasises in text to speech 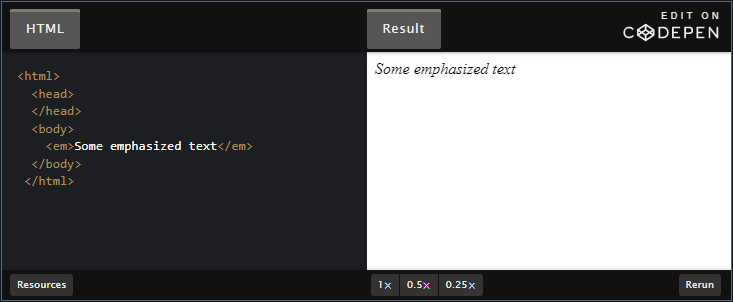
Nesting and Indentation
- Elements are nested for legibility
- Also known as parent/child/sibling elements
- Similar to braces for code
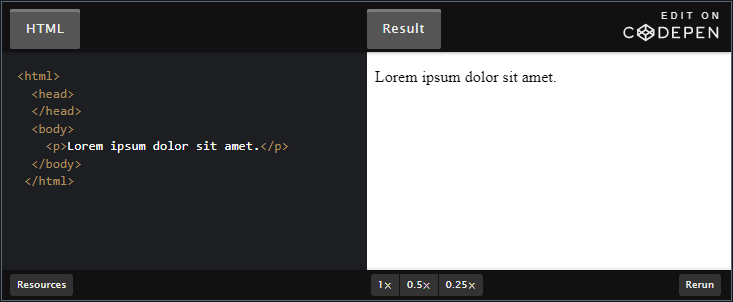
<html>
  <head>
  </head>
  <body>
    <p>Lorem ipsum dolor sit amet.</p>
  </body>
 </html>
HTML Comments
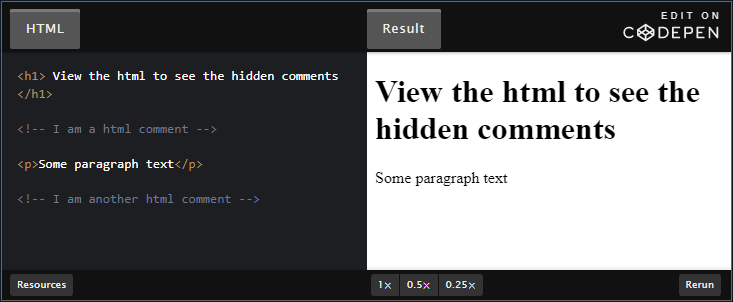
- Comments are not visible when the page is rendered
- Useful for reading page format when performing maintenance
- Comments are written with
<!-- -->, where the comment is inside the whitespace
<h1> View the html to see the hidden comments </h1>

<!-- I am a html comment -->

<p>Some paragraph text</p>

<!-- I am another html comment -->
Lists
- Lists are one of the most commonly usedd elements/data structures because they neatly organize many items
Unordered Lists
- The order is random or irrelevant, then using an unordered list is the right choice
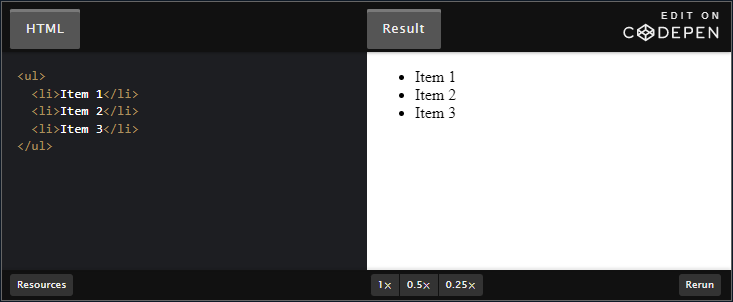
- It's created by using the
<ul>tag, with each element inside of the list using the<li>tag
<ul>
  <li>Item 1</li>
  <li>Item 2</li>
  <li>Item 3</li>
</ul>
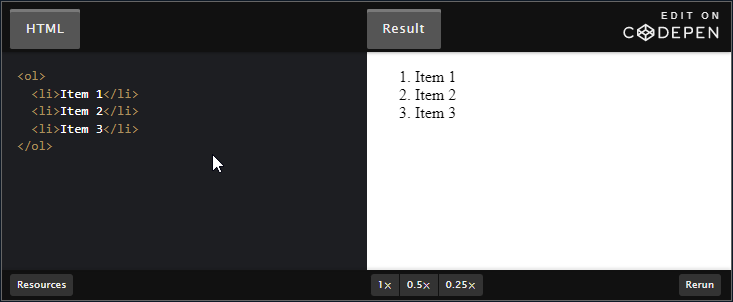
Ordered Lists
- Useful when the order of the list matters
- It's created by using the
<ol>tag instead with the same<li>elements inside of it
<ol>
  <li>Item 1</li>
  <li>Item 2</li>
  <li>Item 3</li>
</ol>
Links and Images
- Links allow for the chaining of other HTML pages on the web
- Create an
index.htmlfile and use it so link other pages within the odin-links-and-images directory
Anchor Elements
- The anchor element is denoted by the
<a>tag- It creates a link with a separate page and routes towards it
- Requires an HTML attribute in order to complete the link
- This link is known as a reference,
<a href="https://www.theodinproject.com/about">click me</a>- the
hrefattribute is what highlights text in blue to show that it is linked to an address - Links work for anything that has a web address, this includes:
- photos
- documents
- pdfs
- html pages
- videos
- the
Absolute and Relative Links
- Most links are one of two things:
- Links to pages on other websites
- Links to pages on our own website
- Absolute Links
- Links to pages on other websites, in order to link you need the full address of the destination
- Example:
protocol://domain/path,www.https://youtube.com/home
- Example:
- Links to pages on other websites, in order to link you need the full address of the destination
- Relative Links
- Links to other pages within our own website, or internal links
- These links do not include the domain name since it is within the same domain
- Relative links consist of the file path instead of the web address
- Links are created the same whether absolute or relative, the
hreftag is what controls the anchor binding - Proper file management recommends to have a separate directory for
pageswithin the project - The proper way to direct an anchor to a subdirectory is by using
./in the path- This tells the anchor to start looking for the file/directory relative to the
currentdirectory of where theindex.htmlis located
- This tells the anchor to start looking for the file/directory relative to the
A Metaphor
- The domain name
town.comis a city - The directory where the website is located would be similar to a museum
/museum- Each page on your website could be considered a room, in this case a room within the museum
/museum/movie_room.htmlor/museum/coffee_shop.html - Relative links like
./shop/coffee_shop.htmlare directions from the current room (movie_room) - Absolute link would be the full directions to the room from entering the town
- Ex:
https://town.com/museum/shops/coffee_shop.html
- Ex:
- Each page on your website could be considered a room, in this case a room within the museum
Images
- HTML uses the
<img>tag in order to embedd images into the page, does not require a closing tag- These images can be added with Absolute or relative links Ex:
<img src="https://www.theodinproject.com/mstile-310x310.png"> 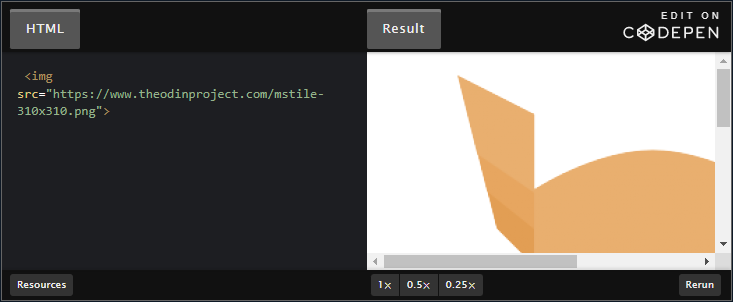
- These images can be added with Absolute or relative links Ex:
Parent Directories
- In order to navigate to the parent directory when linking, you should use
../relative to the current directory
Alt attribute
- images also have an alt attribute
- Used to describe the image, helps with accessability and when the image itself can't be loaded
- Ex:
<img src="https://www.theodinproject.com/mstile-310x310.png" alt="The Odin Project Logo">- This loads the logo, if it can't then
The Odin Project Logois displayed
- This loads the logo, if it can't then
Recipes
- Project to build a basic recipe website
- Will have a main index page with links to a few recipes
Assignment
- Iteration 1: Initial Structure
- Within the
odin-recipesdirectory, create anindex.htmlfile - Fill it out with the usual boilerplate HTML and add an
h1heading "Odin Recipes" to the body
- Within the
- Iteration 2: Recipe Page
- Create a new directory within the
odin-recipesdirectory and name itrecipes - Create a new HTML file within the
recipesdirectory and name it after the recipe it will contain.- Ie.
lasagna.html - Include an
h1heading with the recipe's name as its content
- Ie.
- Back in the
index.htmlfile, add a link to the recipe page you just created- Use an anchor
- Create a new directory within the
- Iteration 3: Recipe Page Content
- An Image of the finished dish under the
h1heading - Under the image, it should have an appropriately sized "Description" heading followed by a paragraph or two describing the recipe
- Under the description, add an "Ingredients" heading followed by an unordered list of the ingredients needed for the recipe.
- Finally, under the ingredients list, add a "Steps" heading followed by an ordered list of the steps needed for making the dish
- An Image of the finished dish under the
- Iteration 4: Add More Recipes
- Add two more recipes with the identical page structures to the recipe page you've already created
- Don't forget to link to the new recipes on the index page
- Consider putting all the links in an unordered list so they aren't all on one line.